Your First 24 Hours With a CGM: What to Expect
During your first 24 hours with a CGM, expect to apply and start the sensor, wait through its required warm-up, and begin learning what the readings mean. Keep your blood glucose meter available, follow your usual care plan, and check unexpected readings when instructed. Your first day is a chance to learn the routine. [1,2]
Once the first number appears, you may find yourself reaching for your phone more often. A familiar breakfast suddenly has a curve beside it, and an evening walk leaves a trace on the screen. You do not need to understand every movement immediately. It helps to know what to focus on as the day unfolds.
Choose a quiet time to set up your CGM
Have the sensor instructions, a compatible phone with the correct app, and a working blood glucose meter with usable strips ready. Keep your usual low-glucose treatment supplies available too. Ask your diabetes team how often to check, what your alerts should be, and what action to take when glucose is outside your agreed range. [2,9]
Choose a moment when you have time to complete the setup and ask for help if something is unclear. A quiet part of your day gives you room to learn the steps without rushing.
Apply the sensor and follow the start-up steps
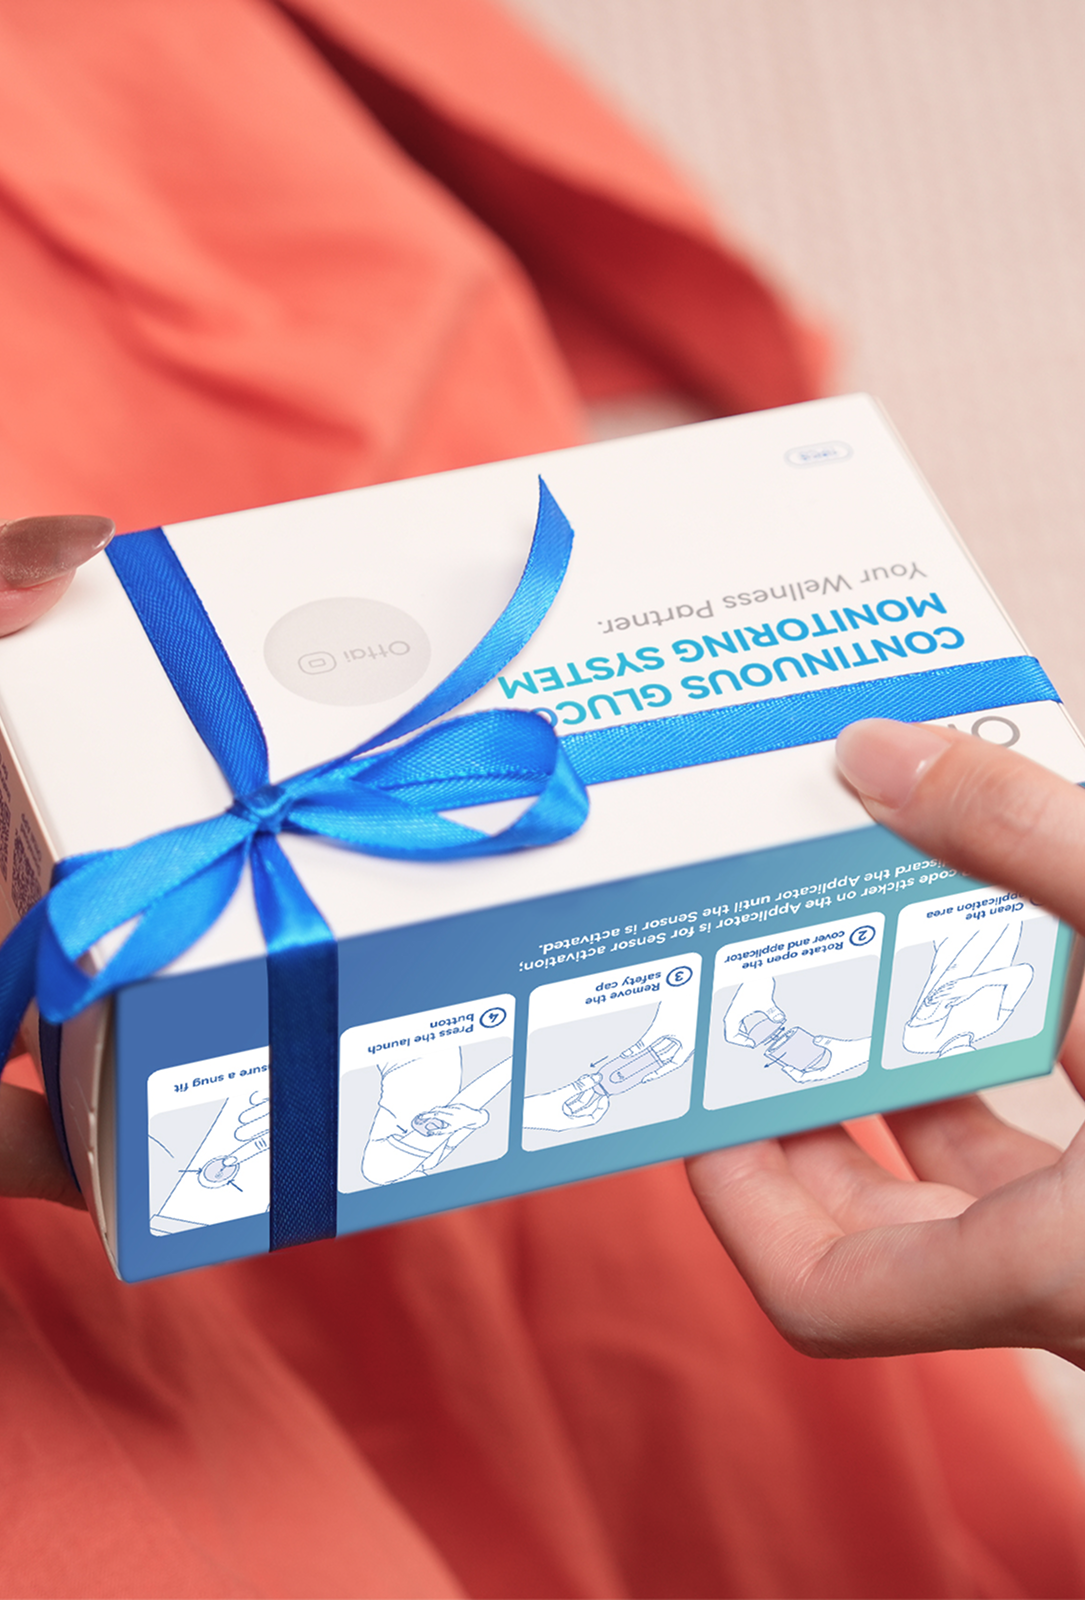
For Ottai CGM users, we recommend you to the back of the upper arm, away from scars, moles, lumps and insulin injection sites. Clean the area with an alcohol pad and let it dry fully. Follow the applicator instructions, then gently press the adhesive around the sensor and use the app to start it. [3]
You may be more aware of the sensor while getting dressed or moving your arm. Do not ignore continuing pain, increasing redness or swelling at the site. Seek medical advice for signs of inflammation or infection, and follow the device instructions or contact our customer service if the sensor is damaged or comes loose. [4]
The first reading may take time to appear
A new sensor needs its specified start-up period before glucose readings become available. Warm-up times differ between CGM models, so follow your supplied instructions and the countdown or status shown in your app. Use your usual meter-based monitoring plan while the sensor is not providing readings. [1,2]
If the expected start-up period ends and no reading appears, check the app’s message and follow its troubleshooting instructions. Contact support if the problem continues. Waiting for a device to connect should never mean waiting to respond to symptoms. [1]

Read your number and trend together
The number estimates your glucose now. The arrow shows whether it is rising, falling or staying relatively steady, while the graph adds the recent history. Reading them together is more useful than judging one number in isolation. Learn which units your app uses and the target range agreed with your healthcare team. [5,6]
For Ottai users, the user manual states that readings are not a basis for deciding or adjusting diabetes treatment plans. Keep following your prescribed plan and discuss treatment changes with your diabetes team. A new graph is not a reason to improvise an insulin dose. [4]
Your first meal gives the graph some context
Follow your usual meal plan and note what you ate and when. If your care plan includes checking before and after meals, use those moments to look at the trend as well. The ADA’s CGM education guide suggests looking before meals and again one to two hours afterwards as useful learning opportunities. [6]
A rise after eating can be part of the response to a meal. One curve cannot tell you everything about that food or your longer-term glucose management. Save a short voice note in the Ottai App, such as “I ate my usual breakfast at 8 am,” and the app will automaticlly record the activity for you, then you can bring repeated patterns or concerns to your care team. [5,6]
Continue familiar activities within your care plan
You can begin noticing how your usual movement relates to glucose without turning the day into an experiment. Follow your agreed exercise precautions and check as instructed around activity. Keep your supplies with you rather than assuming that wearing a sensor removes the need for them. [2,6]
Before a shower or swim, read your sensor’s water-exposure limits and adhesive instructions. Water resistance has limits, and extra tape does not change them. Check that clothing and towels are not catching on the sensor, and use only the securing methods permitted in its instructions.
An unfamiliar reading deserves a check
CGM measures glucose in the fluid between cells, so its value can differ from a finger-prick result, particularly while glucose is changing quickly. Use your meter if symptoms disagree with the sensor or you suspect an inaccurate reading. Do not assume that a low or high is harmless because it is the first day. [1,6]
Prepare for your first night with a CGM
Before bed, make sure your phone has enough charge and is within the range specified for your system. Check that Bluetooth, notifications and any required background permissions are configured as instructed. Review the alert settings you agreed with your team, and understand how your phone’s sound settings affect them. [2,7]
Keep your meter, strips and low-glucose supplies where you can reach them. If someone helps you manage diabetes, make sure they know your response plan. Knowing what to do if an alert sounds can make your first night feel more manageable. [2,9]

Take an overnight low seriously
Lying on the sensor can sometimes cause a falsely low reading, often called a compression low. Avoid direct pressure and use your meter to check an unexpected result. A real low can also happen without symptoms, so your sleeping position or the shape of the graph cannot confirm the cause. Follow your low-glucose plan. [8,9]
If you have symptoms of low glucose and cannot test, follow your plan for a suspected low rather than waiting for a reading. A seizure, loss of consciousness or inability to swallow safely requires emergency medical help. Use prescribed glucagon if available and you know how to give it; do not give food or drink to someone who cannot swallow safely. [9,10]
Review your first day the following morning
Look back at your notes alongside the graph. You might notice that the sensor caught on a sleeve, an app setting needed attention, or a meal raised a question you want to discuss. One day provides an introduction; it does not establish your usual pattern or justify changing treatment on your own. [2]
Keep a simple first-day record
Copy these prompts into a notebook or note-taking app. Add entries when useful and follow your care plan for any readings or symptoms that need action.
· Record when you applied and started the sensor, and when the first reading appeared.
· Note the time of a meal or activity and describe what you did.
· If a reading needed checking, record the sensor value, the meter result, their units and times, and how you felt.
· Record any alert, connection problem or skin discomfort, together with the action you took.
· Write down one question(s) you would like your diabetes team or device support service to help answer.
By the end of your first 24 hours, knowing how to find your readings, respond to alerts and ask for help is useful progress. Keep the notes that explain your day, and let your understanding grow as you build experience.
1. Continuous Glucose Monitoring — NIDDK
2. Diabetes Technology — Standards of Care in Diabetes 2026 — American Diabetes Association
4. Ottai Continuous Glucose Monitoring System User Manual
5. Continuous Glucose Monitors — CDC
6. Continuous Glucose Monitoring — Lifestyle and Nutrition Guide — American Diabetes Association
7. Ottai Terms of Use — App and Device Requirements
8. Time in Range — Research and Resources — Indian Health Service
9. Signs, Symptoms, and Treatment for Hypoglycemia — American Diabetes Association